Simplifying Patch Management in AWS: Leveraging Systems Manager Quick Setup for Automation
6 min read
In today's fast-paced digital landscape, ensuring that your systems are up-to-date with the latest security patches is critical for protecting against vulnerabilities. But managing patches manually across multiple instances and regions can quickly become a complex, time-consuming task—especially in larger AWS environments. This is where AWS Systems Manager Quick Setup comes in as a game-changer.
By automating the configuration of AWS Patch Manager, Quick Setup allows you to streamline patch management, ensuring your systems remain compliant with minimal effort. In this blog, we'll explore how AWS Systems Manager Quick Setup simplifies patch management, helping you save time while maintaining a secure and resilient cloud infrastructure.
Step 1: Start by logging into the AWS Management Console using your credentials. Once you're in, navigate to AWS Systems Manager. From the Systems Manager dashboard, locate and select Quick Setup.
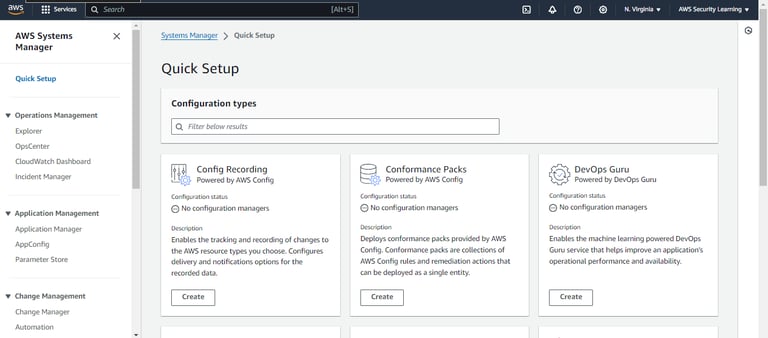
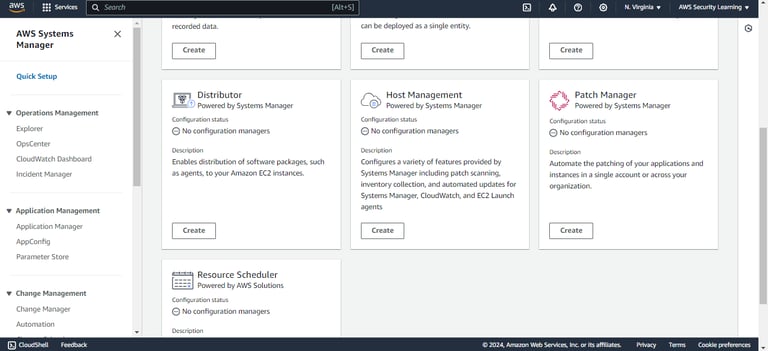
Step 2: In the Quick Setup menu, search for the configuration type Patch Manager. Once found, click on Create to begin the patch management configuration process.
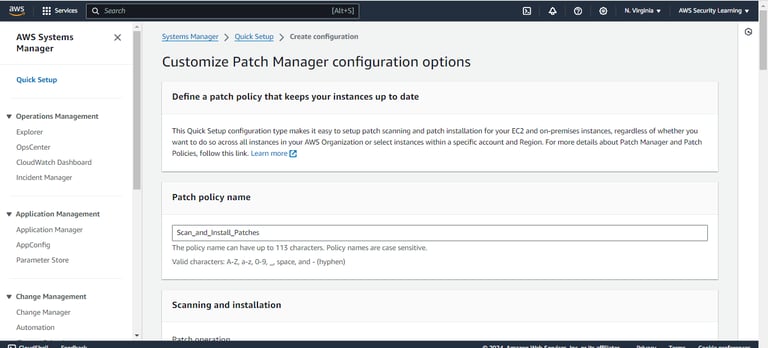
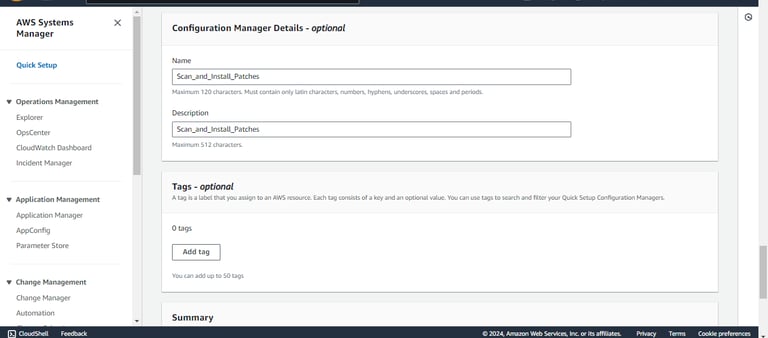
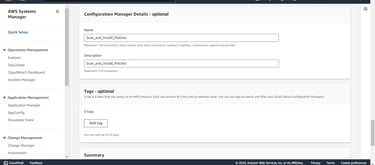
Step 3: Begin by giving your patch policy a meaningful name. Next, customize the Patch Manager configuration options according to your organization's compliance and maintenance requirements. This includes setting the patch baseline, specifying the patching schedule, and selecting the appropriate operating systems. Ensure that these settings are tailored to meet your operational needs before moving forward.
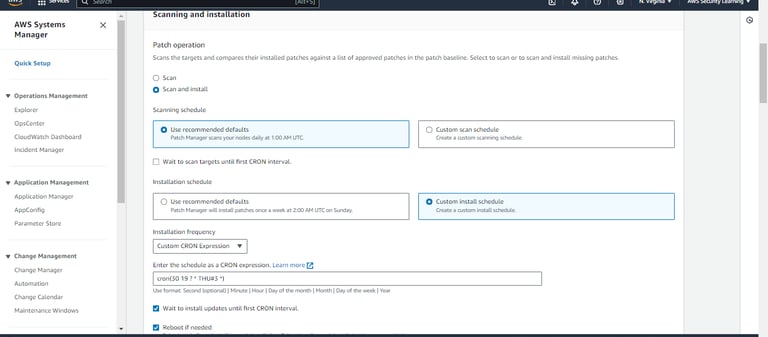
Step 4: Choose the appropriate Patch Operation action based on your requirements. Select Scan to identify missing patches without applying them, or Scan and Install to both detect and automatically install any missing patches. This choice will determine how the system handles patch management in your environment.
Scanning Schedule: You can either use the recommended schedule or define a custom scan schedule using cron expressions. This allows you to tailor the scanning frequency to fit your operational needs.
Installation Schedule: Similarly, set the installation schedule according to your preference, either opting for the recommended schedule or a custom one via cron expressions.
There are checkboxes available for both scanning and installation that allow you to control when these actions are performed: "Wait to scan targets until first cron interval" and "Wait to install updates until first cron interval". Enabling these options ensures that scans and installations are aligned with your defined schedule intervals.

Step 5: Choose the appropriate patch baseline for your configuration. You can either select "Use recommended defaults" to apply AWS's predefined baseline settings, or choose "Custom patch baseline" to specify your own criteria for patching. Custom baselines allow you to define rules and exceptions tailored to your organization’s specific needs.

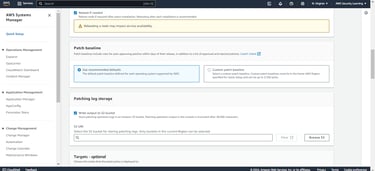
Step 6: Select the S3 bucket where patching logs will be stored. This ensures that all patching activities are properly logged and can be accessed for future auditing or troubleshooting.
Next, select the target region where the patching operation will be executed. Ensure that the region aligns with the location of the resources you wish to manage.


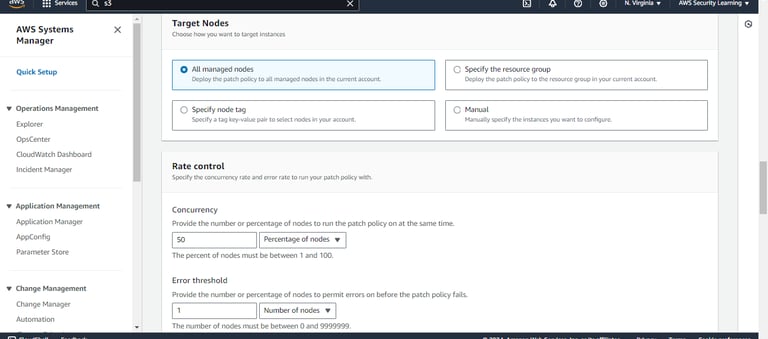
Step 7: Choose the target nodes for patching. You can specify individual instances or apply patching across multiple instances by selecting a resource group or tagging the nodes appropriately. This step defines which systems will be subject to the patch management process.
Configure the rate control settings by specifying both the concurrency rate and the error threshold for your patching operations. The concurrency rate determines how many instances will be patched simultaneously, while the error threshold defines the maximum percentage of errors allowed before the operation is halted. Adjust these settings based on your environment’s capacity and risk tolerance during patching.
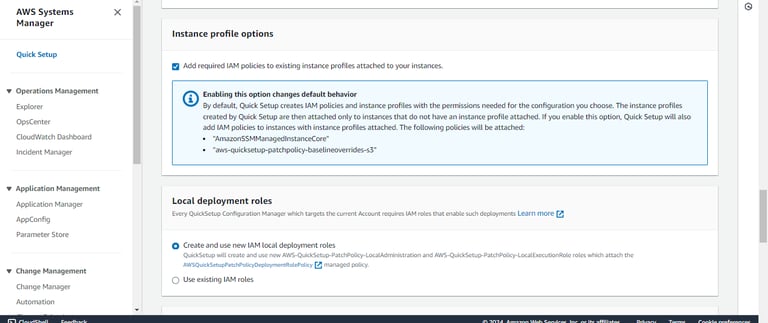
Step 8: Enable the option to add the required IAM policies to the existing instance profiles attached to your instances. By default, Quick Setup creates and attaches the necessary IAM policies and instance profiles only to instances without profiles. However, by enabling this option, the following policies will also be added to instances that already have profiles attached:
AmazonSSMManagedInstanceCore
aws-quicksetup-patchpolicy-baselineoverrides-s3
This ensures all instances have the required permissions for patching, overriding the default behavior.
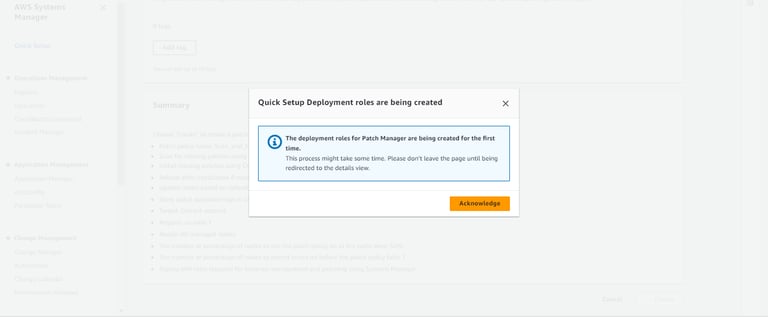
In addition to this, You can either create new local deployment roles or use existing ones if you already have them.
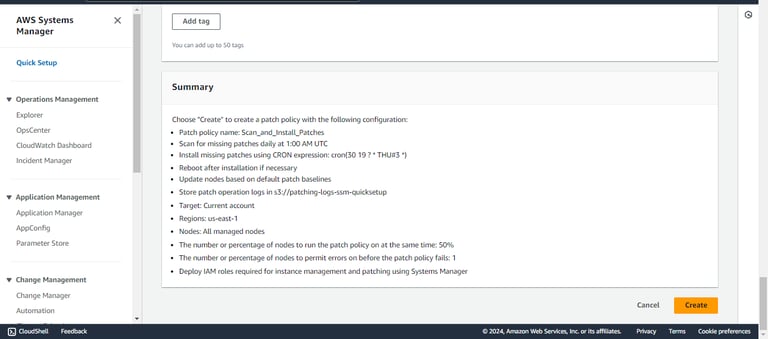
Step 9: After entering all the necessary details for your Patch Manager configuration, review the Summary to verify that everything is set up correctly. Once everything looks good, click on Create to complete the configuration process.

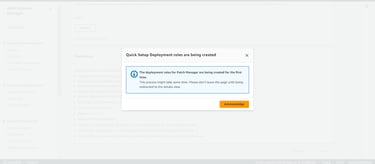
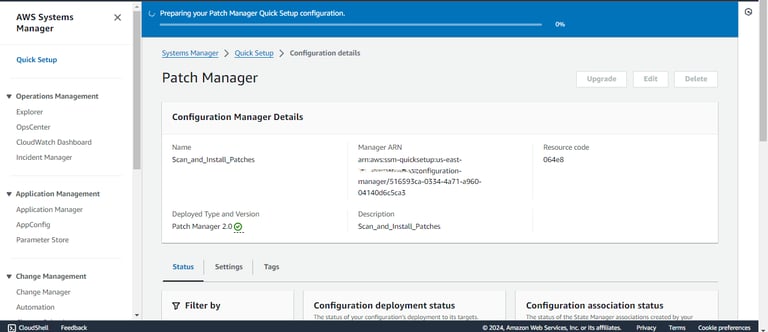

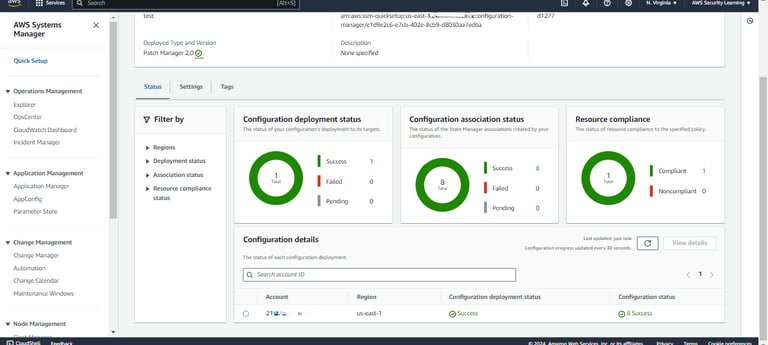
Here, the Patch Manager Quick Setup has been created successfully.
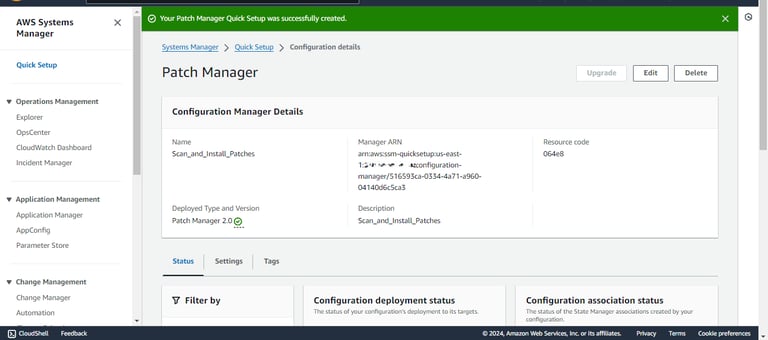
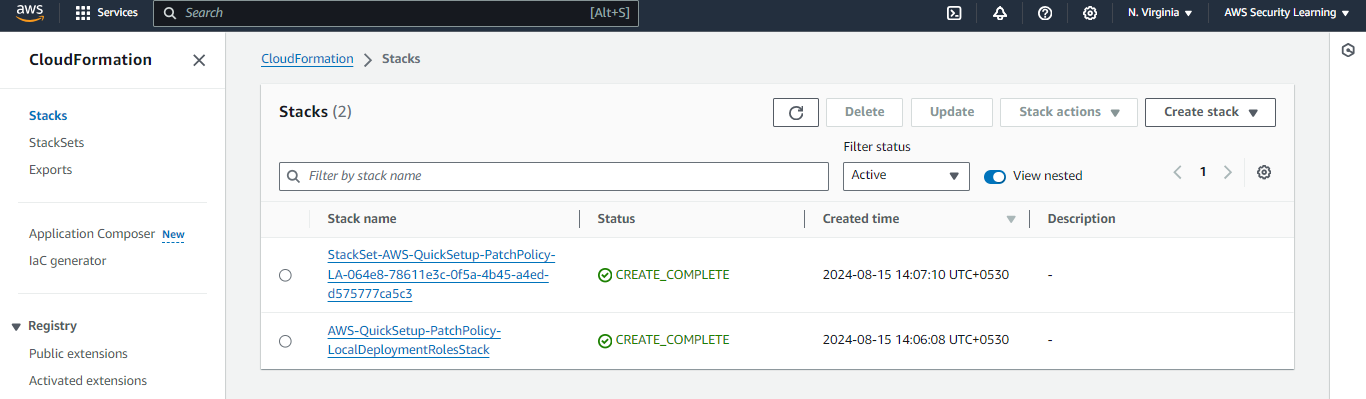
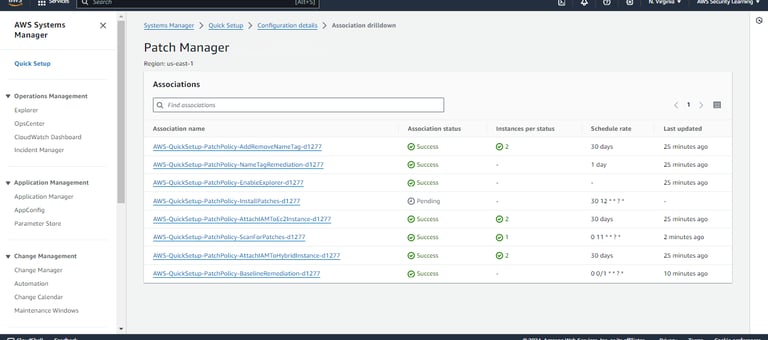
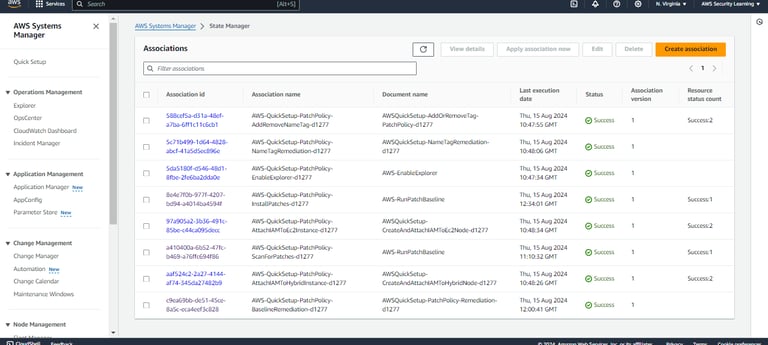
Here, Quick Setup has used CloudFormation to create the respective associations in State Manager. This ensures that the patching process is automated and managed consistently across your targeted instances, following the configurations you've set.
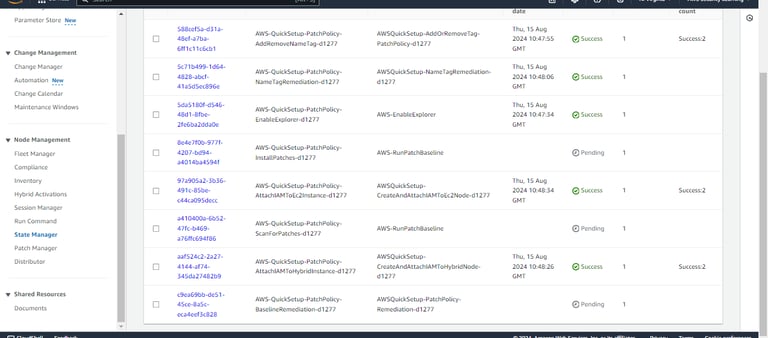
The associations to scan and install patches will run according to their scheduled rate. They will identify any non-compliant resources and apply the necessary patches accordingly.
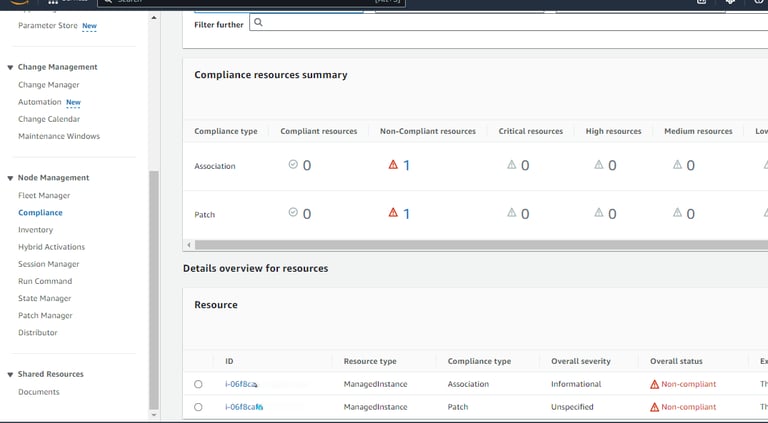
After scanning, you will see details of both non-compliant and compliant resources. Since I have only one instance for testing, it will be listed as non-compliant, with zero compliant resources.


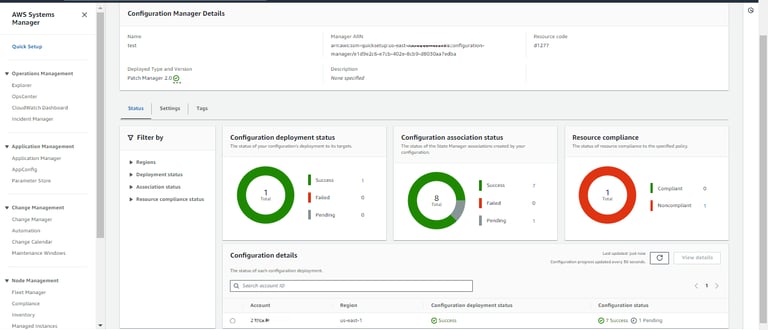
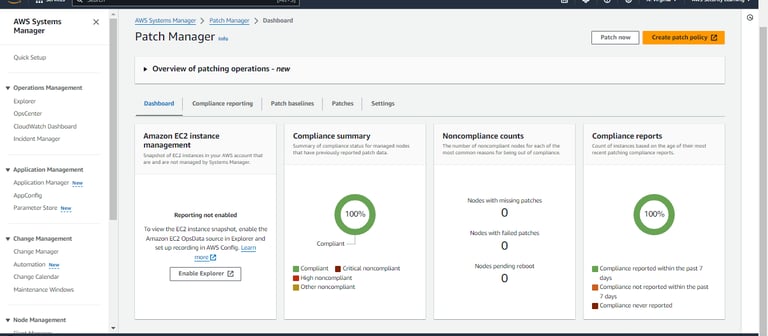
You can navigate to the Compliance section to check the details of the non-compliant resource.
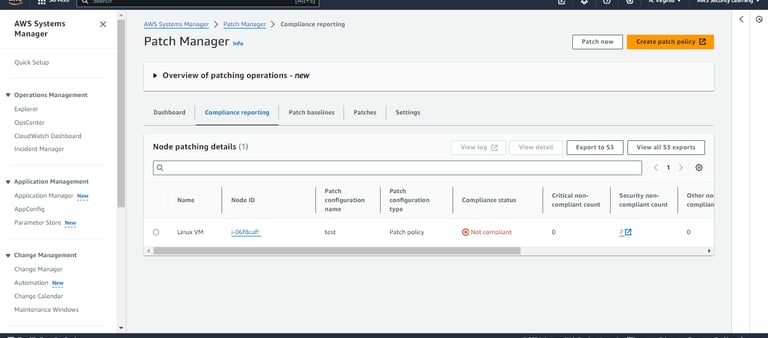

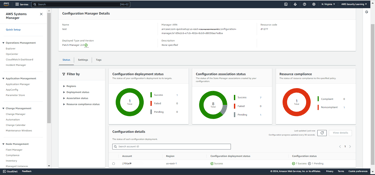
Once the install patch association runs according to its scheduled rate, it will apply the necessary patches to the non-compliant resources.

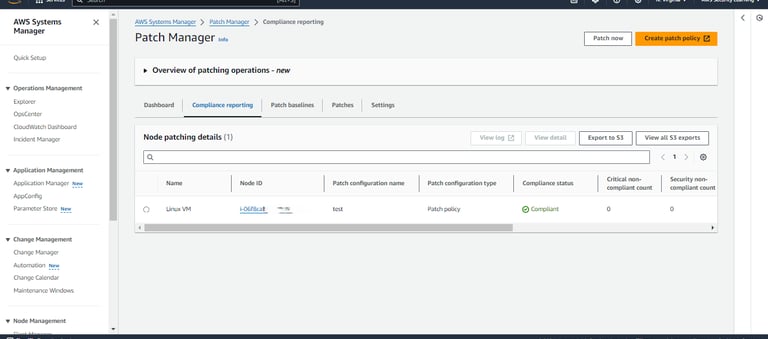
As shown in the screenshots, after the patches are applied, the resource has become compliant.
Conclusion
In this blog post, we’ve explored how to configure AWS Patch Manager using Quick Setup in AWS Systems Manager. By setting up the configuration, you automate the patch management process, ensuring that your instances are kept up-to-date with minimal manual intervention. This approach helps you maintain compliance, reduces the risk of vulnerabilities, and streamlines your patching operations.
Implementing AWS Systems Manager Quick Setup for Patch Manager will not only enhance your system’s security posture but also lead to a more streamlined and automated patch management strategy.
Disclaimer
This blog provides a general guide for configuring AWS Patch Manager using Quick Setup in AWS Systems Manager. It is important to note that each AWS environment and patch management requirement may vary. While this setup can streamline patch management and improve compliance, it is essential to review and customize the configuration according to your specific needs and operational policies.
Before applying these configurations in a production environment, thoroughly test them in a staging or development environment to ensure they meet your organizational and security standards. The information provided should be used as a reference, and final implementations should align with your organization’s objectives and compliance requirements. Always perform due diligence and consider seeking professional advice if needed.
Daily Ink Well
© 2024. All rights reserved.